If you're interested in the project that triggered the Amazon order of a saw, lighter fluid, and Vaseline then read on.
Due to a combination of temporal and geographical reasons, including 2/3 of the creative team being on a work placement or not currently being in the country, this project is on an
indefinite hold (it'll get done, I just don't know when).
So here's the extensive behind the scenes I promised, I'm going to do my best not to reveal too much but as it's a behind the scenes it may contain some
spoilers for the scenes that it's behind, any time travellers may want to view the finished film first.
This is going to contain a lot of detailed pictures, so remember
to always think twice you can click on an image to see a larger version of it and that the coloured text are links (not the headers).
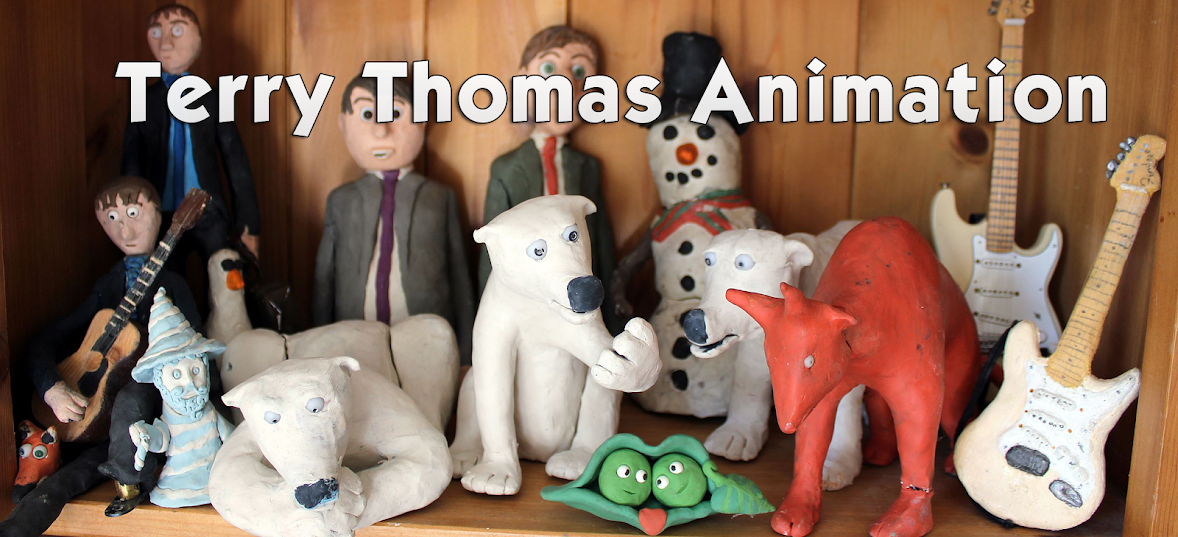
Squeak Easy, an introduction.
Meet Ben, or as you may already know him
"the voice of Tony the polar bear", a writer/director/mechanical engineering student who likes explosions, gunfights and long walks on the beach.
 |
| "This is my work face" |
Ben wrote a feature film called The Red Duffle Bag about a struggling writer who ends up robbing a bank because his children's TV show
rastamouse Squeak Easy is cancelled and he doesn't have any money or something (it's better than it sounds I
promise err..
expect ..
should probably read that at some point), so he asked me to do the animated section where the main character is trying to write an episode.
Design and making
 |
| I wouldn't call this messy; if you think about it in entropy terms this is pretty close to stuff-in-room equilibrium... |
So materials were ordered, mice were drawn and straight
after exams in intersemester break we made a start, turning my university room into a workshop... it looks better like this anyway.
Disclaimer: this was a shot between actually doing any of the work, before everything was cleared away so I feel like I should stress the importance of
having a clear work area when actually making anything!
 |
| The physical manifestation of how much money Ben owes me. |
Setmaking
The back walls of the set were jig-sawed from plywood sheets which were screwed onto the frame of the base and secured using little corner brackets. The kitchen cabinets were made from varying sheets of balsa wood and glued and painted.
Protip: Be careful and specific when buying large sheets of plywood as a group of students in university emblazoned hoodies as they will give you the most expensive, gold-plated premium plywood they can find which you'll only discover after they've cut it as you sullenly enter your pin number after offering to pay.
 |
| If you're starting to make your own animations you really should own this book. Oh, and there's the set in place in this picture too. |
 |
| To think some people use this balsa wood for their "degree". |
The Reese's chocolate pictured was there because 1) because chocolate and 2) I was originally going to use the card inside to make little cereal boxes, until we decided to use a 3D printer (see propmaking section).
 |
| A splash of colour; by which I mean carefully painted. |
 |
| Thomas and Cochrane Bespoke kitchens |
The set floor is a sheet of sticky back plastic,and the windows are intended to be made from acrylic sheets, not pictured.
Trivia: The floor design matches Ben's home kitchen floor (apparently, I didn't know when I ordered it).
Prop making and fridge filling
 |
| It's a mouse's kitchen, what else did you expect? |
The cheese was made of plasticine and the milk carton and cereal box were
3D printed using the
3D printers at our university, the covers were
normal printed and glued on. We then also used the 3D printers to make the shelves in the fridge door, not pictured.
Trivia: The people pictured on the milk carton and cereal box are Ben's siblings, forever immortalised with poorly photoshopped mouse ears next to bad cheese puns, perhaps there is a chance that this will become the last remaining evidence of their existence, their entire lives reduced to an undignified exhibition of their likeness shamelessly merged with another animal and exhibited in miniature, in an interpretation of events that never happened...
Most of the other props were made from
Plastiline (Note:
not plasticine), a grey air drying clay which was nice to work with but didn't seem to dry as hard as I'd hoped, perhaps I painted them too early.
 |
Some subtle meta referencing going on right here. |
Trivia: The TV was designed to look like my computer monitor... isn't that nice?
 |
| Guns... completely unrelated to the story of course |
Puppet making
First, I sketched the characters; Mickey Michael The Mouse and his Mousey Wife.
 |
| That's probably not a samurai sword, you should just ignore that... |
 |
| Another sketch looking at different possible designs of something that's in all probability... tomato juice or something, hey, look the next section is about armatures! |
Armatures
Then I drew a full scale diagram of Michael with the armature design inside.
Three different gauges of aluminium wire were twisted using a power drill to provide flexibility and support, the thickest making up the spine, and thinnest making up the fingers and the wrist. Brass tubes were used to make the feet, hands, arms and head replaceable as they would be made from silicone, to do this two sizes of brass tubes were used, one which slides into the other snugly, the brass was then dented to make it more secure. 'Bones' were made using Milliput epoxy putty, this is so the the puppet can't bend in the wrong place during animation,as you may find you can't bend your arm between the shoulder and elbow (that may not have been funny but at least it was humerus! I'm so sorry).
.jpg) |
| They weren't sticking very well at first, so I took appropriate action |
The feet were made from two steel plates with wire in-between for realistic walking as the characters were to be secured to the set using
magnetic tiedowns.
protip: For more detailed armature building you should have a look at the
excerpt from this book (and get that book too)
Body/clothes
 |
| This blog is becoming pretty explicit; sorry Michael. |
 |
| Significant trimming still required |
The bodies of the puppets were made using upholstery foam which was glued using contact adhesive and cut into shape with scissors.
The clothes would be attached directly to the foam, I don't have the specifics on how the clothes were made as they were made by my friend Louise (the 3rd person on this project), but if you're looking for a guide on how to make clothes you might want to have a look at
these pictures and
this blog.
Silicone
For more detail in making silicone puppets I suggest you check out Stop Motion: craft skills for a model animator and/or The Advanced Art of Stop-Motion Animation,
this blog and
this video.
 |
| Taking appropriate safety precautions |
Silicone was chosen because the format of the script required time resetting several times, which would be difficult to do with plasticine as it changes so much from touching it, so silicone was chosen.
First, to create the plaster mould for the silicone the piece was sculpted in plastiline, then placed in a bed of ordinary potters clay, walls were built around the sculpt to make the walls so the resin plaster could be poured in, for the feet this was done using clay but it becomes more difficult for larger sculpts so the walls were made using left over balsa wood. Impressions were made into the clay to be used as 'keys' to locate the correct position of each half of the mould, to get the sculpt out of the mould a lubricant such as Vaseline should be used so you don't end up breaking your sculpt or mould.
Trivia: I sent Ben to buy some ordinary clay and he came back with
air dry clay, which worked equally well, it just meant we had to be quick and had to throw away the clay afterwards.
 |
| Step 1. |
 |
| Step 2. |
The plaster was mixed as directed by the instructions: using 3 parts water to 1 part plaster, carefully sprinkle the plaster onto the water then proceed to pour the rest of the plaster all over yourself.
First half of the mould
 |
| I'm sure there's some sort of religious joke to be made here |
After the balsa wood is removed the clay can be easily removed as it will be soft because the plaster reaction is
exothermic.
 |
| . |
Second half of the mould to be poured in, some plastic wrap was used to prevent the plaster being poured over the foam and being absorbed and difficult to get off.
Armature resting over the mould, more foam was actually added later as I found that after casting the silicone there wasn't enough flexibility in the puppet, so it had to be remade.
Showing both halves of Michael's head mould, the recesses on the left mould were made to allow excess silicone pour out of the sides, and were made by placing pieces of clay to shape the plaster mould.
Michael's head armature, foam was used to make the head lighter and the nose more flexible as thick silicone can become too springy, also the foam was placed over the armature to make sure the silicone sticks as the foam absorbs the silicone.
The armature was placed in the mould and clamped tightly shut, the silicone was then poured in from a significant height to avoid air bubbles
To colour the silicone a small amount of oil colour was added to the silicone and slowly mixed avoiding air bubbles and left for 24 hours to allow the air bubbles to escape before pouring into the mould.
 |
| They look a bit like people with large brass hats |
Hand armatures with foam. A different method of pouring the silicone into the mould was used, the silicone was first poured (again from a height) over each half of the mould to create a thin layer ('skin') ensuring the silicone reached inside all of the mould without air bubbles. Then silicone was poured in each half of the mould and the armature rested on one side after leaving it for a short amount of time to partially set and finally the two halves were clamped together.
.jpg) |
| Apparently silicone mice also suffer from severe inbreeding. |
The excess was trimmed, and a small amount of silicone thinned with lighter fluid was used to smooth over the join.
 |
| Some moulds don't survive |
 |
| The best way to weigh anything down |
When clamps were not viable, other alternatives for keeping the mould tightly shut were used,
 |
| Just ignore those rats with gas masks in the background. |
Silicone head! Meet Michael The Mouse.
Details were added by piercing the silicone with wire and putting plasticine over it.
Unfortunately I don't have the completely finished models to show you, as they aren't completely finished because we ran out of time and had to get on with our degrees. This is as far as we've managed to get.
The aftermath
The problem with animation
The problem with animation is that you are literally bringing things to life.
Literally. I'm serious. I found this out while making Michael the Mouse, I accidentally cut slightly too far into his head while trimming the silicone where the join of the mould was and instead of finding just pure silicone my scissors hit something... hard.
 |
| Apparently Michael The Mouse, grew a mousey skull... |
If beauty is truth and art is beauty, then apparently... art is truth.
Add Michael on Facebook
High on creativity, sense of achievement and contact adhesive, in the midst of cabin fever Ben and I decided it would be a good idea to do a bit of online marketing, so why not add
"Michael Themouse" on facebook for some frankly inspiring cheese-related updates.
Definitely the thing to do if you've enjoyed this blog (or even if you didn't, just if you're reading this which you definitely are, so you should go and do that; it'll make you look more popular).
Final Trivia: During the making of
Squeak Easy it may or may not be true that because Ben missed the last bus he ended up staying in one of the empty rooms that was having repairs done and drying himself with the accommodation provided duvet...
Finally,
Animation is based on acting, so here's me (on the left) in the Red Duffle Bag trailer with no plasticine involved at all.


.JPG)